Pumpkin Decorating with Stickers: A Fun and Easy Guide for All Ages
As the leaves change color and a crispness fills the air, it’s time to embrace the spirit of autumn. And what better way to do that than with pumpkins? While carving is a classic, pumpkin decorating with stickers offers a mess-free, creative, and age-appropriate alternative for everyone. This guide will walk you through everything you need to know about transforming ordinary pumpkins into delightful fall masterpieces using the simple magic of stickers.
Pumpkin decorating with stickers is not just a craft; it’s an experience. It’s about gathering with family and friends, unleashing your imagination, and creating memories that will last a lifetime. Whether you’re hosting a Halloween party, looking for a fun activity for kids, or simply want to add a touch of autumnal charm to your home, decorating pumpkins with stickers is the perfect solution.
Why Choose Stickers for Pumpkin Decorating?
Compared to traditional carving, pumpkin decorating with stickers boasts several advantages:
- Safety: No sharp knives are required, making it a safe activity for children of all ages.
- Mess-Free: Forget about scooping out pumpkin guts and dealing with sticky residue. Stickers offer a clean and easy decorating process.
- Versatility: Stickers come in a wide variety of shapes, sizes, colors, and themes, allowing for endless creative possibilities.
- Longevity: Decorated pumpkins last longer without rotting, as the pumpkin’s skin remains intact.
- Accessibility: Stickers are readily available at most craft stores, supermarkets, and online retailers.
- Cost-Effective: Decorating with stickers is generally more affordable than purchasing carving kits or hiring professional carvers.
Gathering Your Supplies for Pumpkin Sticker Art
Before you begin your pumpkin decorating with stickers adventure, gather the following supplies:
- Pumpkins: Choose pumpkins of various sizes and shapes. Consider the surface texture; smoother pumpkins generally work best for sticker adhesion.
- Stickers: The star of the show! Select a variety of stickers that appeal to your taste. Consider Halloween-themed stickers (ghosts, bats, spiders), fall-themed stickers (leaves, acorns, pumpkins), or simply colorful and patterned stickers. Glow-in-the-dark stickers are a fun addition for nighttime displays.
- Cleaning Supplies: A damp cloth or paper towel to wipe down the pumpkins before decorating. This ensures better sticker adhesion.
- Optional Embellishments: Consider adding other decorative elements such as glitter, paint markers, ribbons, or googly eyes to enhance your designs.
- Protective Sealer (Optional): A clear acrylic sealer can help protect your decorated pumpkin from the elements if you plan to display it outdoors.
Preparing Your Pumpkins for Decoration
Proper preparation is key to ensuring your stickers adhere well and your designs last. Here’s how to prepare your pumpkins:
- Wash and Dry: Gently wash your pumpkins with mild soap and water to remove any dirt or debris. Thoroughly dry them with a clean cloth.
- Inspect for Damage: Check for any cuts, bruises, or soft spots on the pumpkin. Avoid using pumpkins with significant damage, as they may rot more quickly.
- Choose Your Design: Before applying any stickers, take some time to plan your design. Consider the shape and size of the pumpkin and how the stickers will complement it. You can sketch out your design on paper or simply visualize it in your mind.
The Art of Pumpkin Decorating with Stickers: Step-by-Step
Now for the fun part! Follow these steps to create stunning sticker-decorated pumpkins:
- Start with a Clean Slate: Ensure your pumpkin is clean and dry before applying any stickers.
- Peel and Stick: Carefully peel the sticker from its backing and position it on the pumpkin. Gently press down to ensure it adheres smoothly.
- Layer and Overlap: Don’t be afraid to layer and overlap stickers to create interesting textures and patterns.
- Mix and Match: Combine different types of stickers to add visual interest to your designs.
- Get Creative: Let your imagination run wild! There are no rules when it comes to pumpkin decorating with stickers. Experiment with different techniques and styles to create unique and personalized pumpkins.
- Consider a Theme: If you’re having trouble coming up with ideas, consider choosing a theme for your pumpkins. Some popular themes include Halloween monsters, fairytale characters, autumn landscapes, or abstract art.
Tips and Tricks for Perfect Pumpkin Stickers
Here are some additional tips to help you achieve the best results when pumpkin decorating with stickers:
- Use High-Quality Stickers: Invest in stickers that are made from durable materials and have strong adhesive. This will ensure they stay in place and won’t peel off easily.
- Smooth Out Air Bubbles: If you notice any air bubbles under the stickers, gently smooth them out with your fingers or a soft cloth.
- Consider Sticker Placement: Think about where you want to place your stickers before you start applying them. Consider the overall design and how the stickers will complement each other.
- Protect Your Work: To protect your decorated pumpkin from the elements, consider applying a clear acrylic sealer. This will help prevent the stickers from peeling or fading.
- Experiment with Different Techniques: Don’t be afraid to experiment with different techniques to create unique and interesting designs. Try using different types of stickers, layering them, or adding other embellishments.
- Involve the Whole Family: Pumpkin decorating with stickers is a great activity for the whole family. Get everyone involved and let them express their creativity.
Inspiration for Your Pumpkin Sticker Designs
Need some inspiration? Here are a few ideas to get you started with your pumpkin decorating with stickers:
- Monster Mash: Use monster-themed stickers to create a spooky and fun Halloween pumpkin.
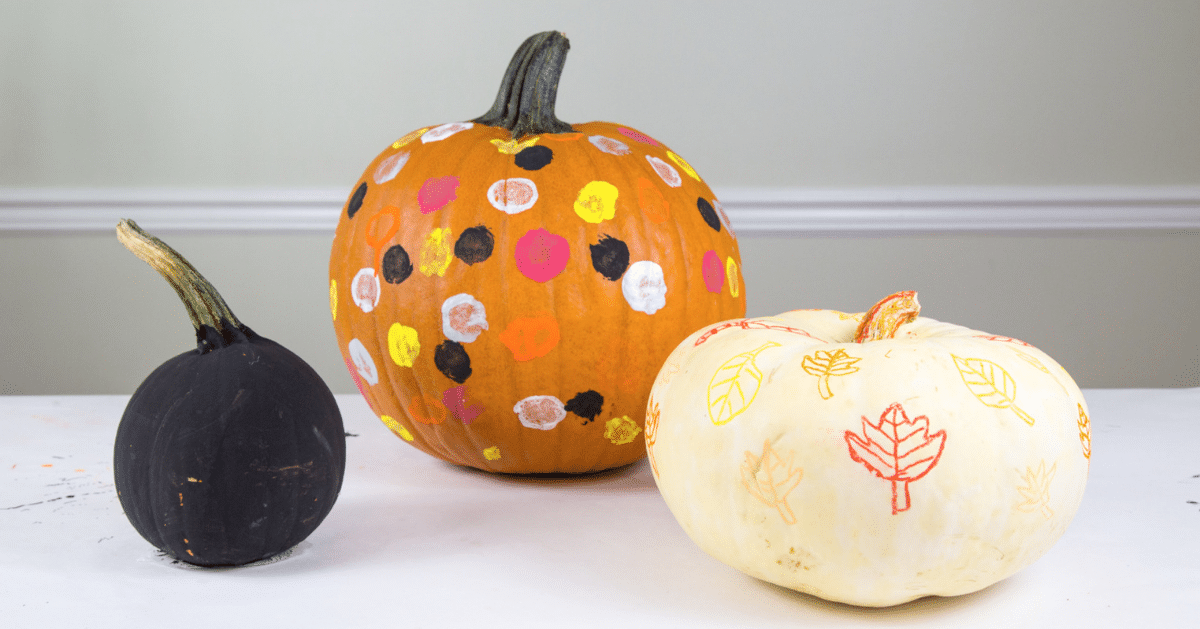
- Fall Foliage: Create an autumn-inspired pumpkin with leaf and acorn stickers.
- Geometric Patterns: Use geometric stickers to create a modern and stylish pumpkin.
- Personalized Pumpkins: Add names or initials using alphabet stickers to make personalized pumpkins.
- Glow-in-the-Dark: Use glow-in-the-dark stickers to create a spooky nighttime display.
- Animal Faces: Create adorable animal faces using a combination of stickers and paint markers.
Displaying Your Sticker-Decorated Pumpkins
Once your pumpkins are decorated, it’s time to show them off! Here are some ideas for displaying your creations:
- Porch Display: Arrange your decorated pumpkins on your porch to create a festive welcome for guests.
- Table Centerpiece: Use a decorated pumpkin as a centerpiece for your dining table or coffee table.
- Window Sill Decor: Place decorated pumpkins on your window sill to add a touch of autumn charm to your home.
- Halloween Party Decorations: Use decorated pumpkins as decorations for your Halloween party.
- Gift Giving: Give decorated pumpkins as gifts to friends and family.
Beyond Stickers: Expanding Your Pumpkin Decorating Horizons
While pumpkin decorating with stickers is a fantastic starting point, don’t be afraid to explore other decorating techniques. Consider adding paint, glitter, ribbons, or other embellishments to further enhance your designs. You can even combine stickers with carving for a truly unique and personalized pumpkin.
Pumpkin decorating with stickers is a versatile and enjoyable activity that offers endless possibilities for creativity and fun. So, gather your supplies, unleash your imagination, and get ready to transform ordinary pumpkins into extraordinary works of art. Happy decorating!
[See also: Creative Fall Decorating Ideas]
[See also: Halloween Craft Projects for Kids]
[See also: Easy Pumpkin Carving Templates]

