How to Remove Tape Glue from Car Paint: A Comprehensive Guide
Discovering sticky residue from tape on your car’s paint can be frustrating. Whether it’s from masking tape used during a DIY detailing project, adhesive left behind from bumper stickers, or even remnants from protective films, knowing how to safely remove tape glue from car paint is essential to maintaining your vehicle’s appearance. This comprehensive guide provides step-by-step instructions, expert tips, and preventative measures to help you tackle this common automotive issue without damaging your car’s finish.
Understanding the Challenge: Why Tape Glue Sticks So Well
Adhesive residue, often referred to as tape glue, is designed to create a strong bond. This bond is particularly tenacious on smooth surfaces like car paint. The adhesive polymers penetrate the clear coat, making removal tricky. Factors such as sunlight, heat, and time can further harden the adhesive, making it even more difficult to remove tape glue from car paint. Ignoring the problem can lead to long-term damage, including discoloration or etching of the paint.
Essential Tools and Materials for Removing Tape Glue
Before you start, gather the necessary tools and materials. Using the right equipment is crucial to avoid scratching or otherwise harming your car’s paint. Here’s a list of essentials:
- Microfiber Towels: Soft and absorbent, these are essential for wiping away residue and cleaning the surface.
- Plastic Razor Blades: Safer than metal blades, these help to gently scrape away stubborn adhesive.
- Heat Gun or Hair Dryer: Applying gentle heat can soften the adhesive, making it easier to remove.
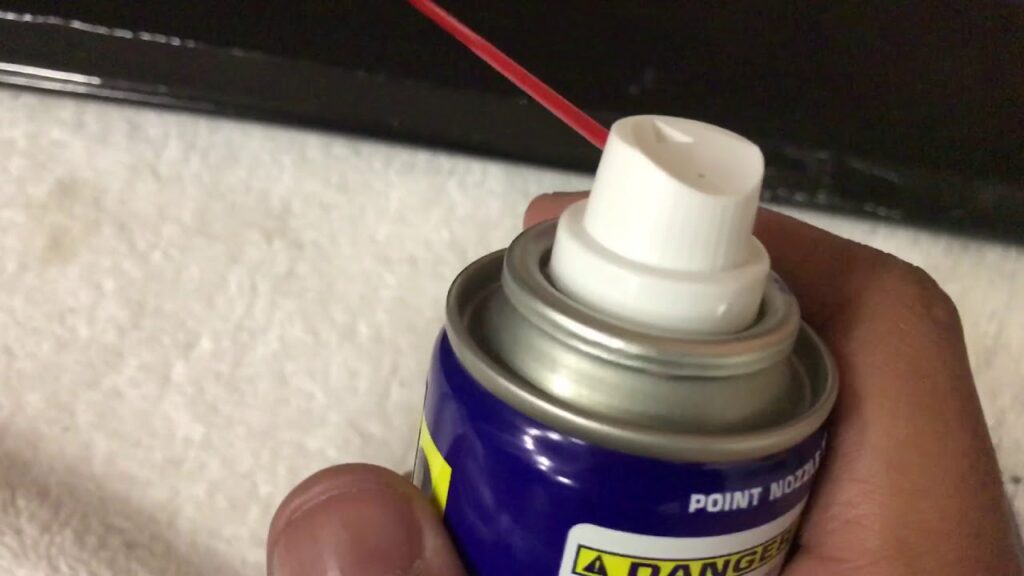
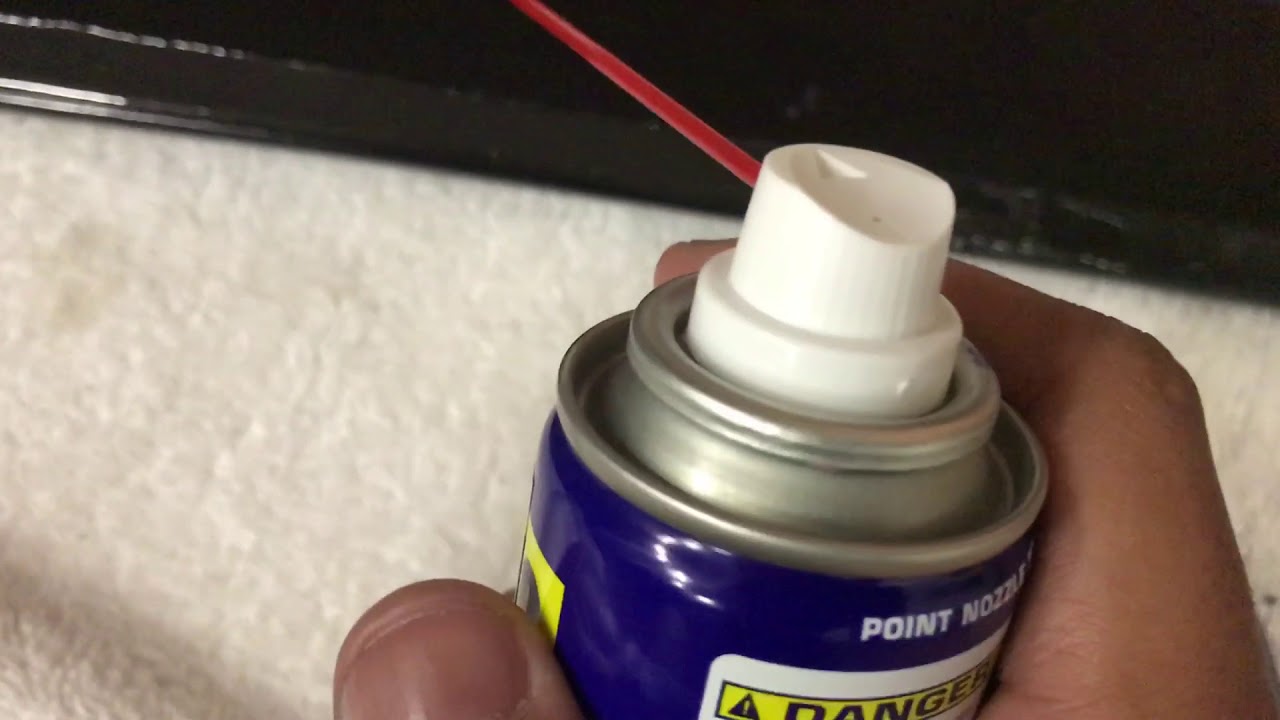
- Adhesive Remover: Choose a product specifically designed for automotive use to prevent damage to the paint. Examples include Goo Gone Automotive, 3M Adhesive Remover, or even WD-40.
- Detailing Clay: For particularly stubborn residue, detailing clay can lift the adhesive from the surface.
- Car Wash Soap: To clean the area before and after removing the adhesive.
- Wax or Sealant: To protect the paint after the adhesive is removed.
Step-by-Step Guide: Removing Tape Glue Safely
Follow these steps carefully to remove tape glue from car paint without causing damage:
Step 1: Initial Cleaning
Start by washing the affected area with car wash soap and water. This removes any dirt or debris that could scratch the paint during the removal process. Rinse thoroughly and dry with a clean microfiber towel.
Step 2: Applying Heat (Optional)
If the adhesive is particularly stubborn, apply gentle heat using a heat gun or hair dryer. Hold the heat source several inches away from the surface and move it back and forth to avoid overheating. The goal is to soften the adhesive, not to melt it.
Step 3: Applying Adhesive Remover
Spray the adhesive remover onto a clean microfiber towel, not directly onto the car’s paint. Gently dab the affected area with the towel, allowing the remover to soak into the adhesive for a few minutes. Follow the product’s instructions carefully.
Step 4: Gentle Scraping
Using a plastic razor blade, gently scrape away the softened adhesive. Hold the blade at a shallow angle to the surface and use light, even pressure. Avoid pressing too hard, as this could scratch the paint. Work in small sections, reapplying adhesive remover as needed. If you don’t have a plastic razor blade, you can use your fingernail covered with a microfiber cloth, but this is less effective.
Step 5: Detailing Clay (For Stubborn Residue)
If some adhesive remains after scraping, use detailing clay. Knead the clay until it is soft and pliable, then flatten it into a disc. Spray the affected area with detailing lubricant and gently rub the clay back and forth over the residue. The clay will lift the remaining adhesive from the surface. Re-knead the clay frequently to expose a clean surface.
Step 6: Final Cleaning and Polishing
Once all the adhesive is removed, clean the area again with car wash soap and water to remove any remaining adhesive remover or detailing lubricant. Dry thoroughly with a clean microfiber towel. Inspect the area for any scratches or swirl marks. If necessary, use a mild polishing compound to restore the paint’s shine. [See also: How to Polish Car Paint]
Step 7: Waxing or Sealing
Finally, apply a coat of wax or sealant to protect the paint and restore its luster. This will also help to prevent future adhesive from sticking as easily. Follow the instructions on the wax or sealant product for best results.
Alternative Methods for Removing Tape Glue
While the above method is generally effective, here are a few alternative approaches you can try to remove tape glue from car paint:
- WD-40: This multi-purpose lubricant can often dissolve adhesive. Spray it onto a microfiber towel and dab the affected area. Let it sit for a few minutes before wiping it away.
- Peanut Butter: Believe it or not, the oils in peanut butter can help break down adhesive. Apply a thin layer of peanut butter to the residue, let it sit for 30 minutes, and then wipe it away. Be sure to clean the area thoroughly afterward.
- Cooking Oil: Similar to peanut butter, cooking oil can help dissolve adhesive. Apply a small amount to the residue, let it sit for a few minutes, and then wipe it away.
- Isopropyl Alcohol: Use with caution, as it can potentially damage certain types of car paint. Test in an inconspicuous area first. If safe, apply to a microfiber towel and gently rub the affected area.
Preventative Measures: Avoiding Tape Glue Residue in the First Place
Prevention is always better than cure. Here are some tips to minimize the risk of tape glue residue on your car’s paint:
- Use Low-Tack Tape: When masking off areas for painting or detailing, use low-tack masking tape specifically designed for automotive use. This type of tape is less likely to leave behind residue.
- Remove Tape Promptly: Don’t leave tape on your car for extended periods, especially in direct sunlight or hot weather. The longer the tape stays on, the more likely it is to leave behind residue.
- Apply a Protective Layer: Applying a coat of wax or sealant to your car’s paint can create a barrier that prevents adhesive from bonding directly to the clear coat.
- Consider Paint Protection Film (PPF): For long-term protection, consider applying paint protection film to vulnerable areas of your car. PPF provides a durable barrier against scratches, chips, and adhesive residue. [See also: Benefits of Paint Protection Film]
When to Seek Professional Help
In some cases, removing tape glue from car paint may be beyond the scope of a DIY project. If you’ve tried the methods outlined above and are still struggling to remove the residue, or if you’re concerned about damaging your car’s paint, it’s best to seek professional help. A professional detailer has the experience, tools, and expertise to safely and effectively remove tape glue from car paint without causing further damage. They can also assess the condition of your car’s paint and recommend any necessary repairs or restoration work.
Conclusion: Maintaining a Pristine Finish
Removing tape glue from your car’s paint can be a challenging task, but with the right tools, techniques, and a little patience, you can restore your vehicle’s finish to its original condition. By following the steps outlined in this guide and taking preventative measures, you can minimize the risk of adhesive residue and keep your car looking its best. Remember to always prioritize safety and proceed with caution to avoid damaging your car’s paint. With proper care and attention, you can confidently remove tape glue from car paint and maintain a pristine finish for years to come.

