How to Get a Stripped Screw Out: A Comprehensive Guide
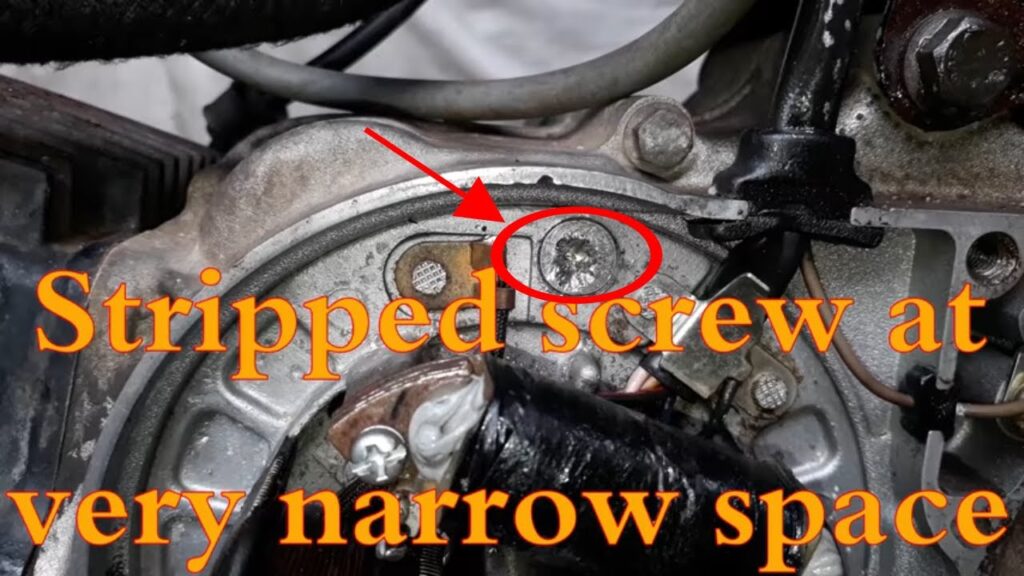
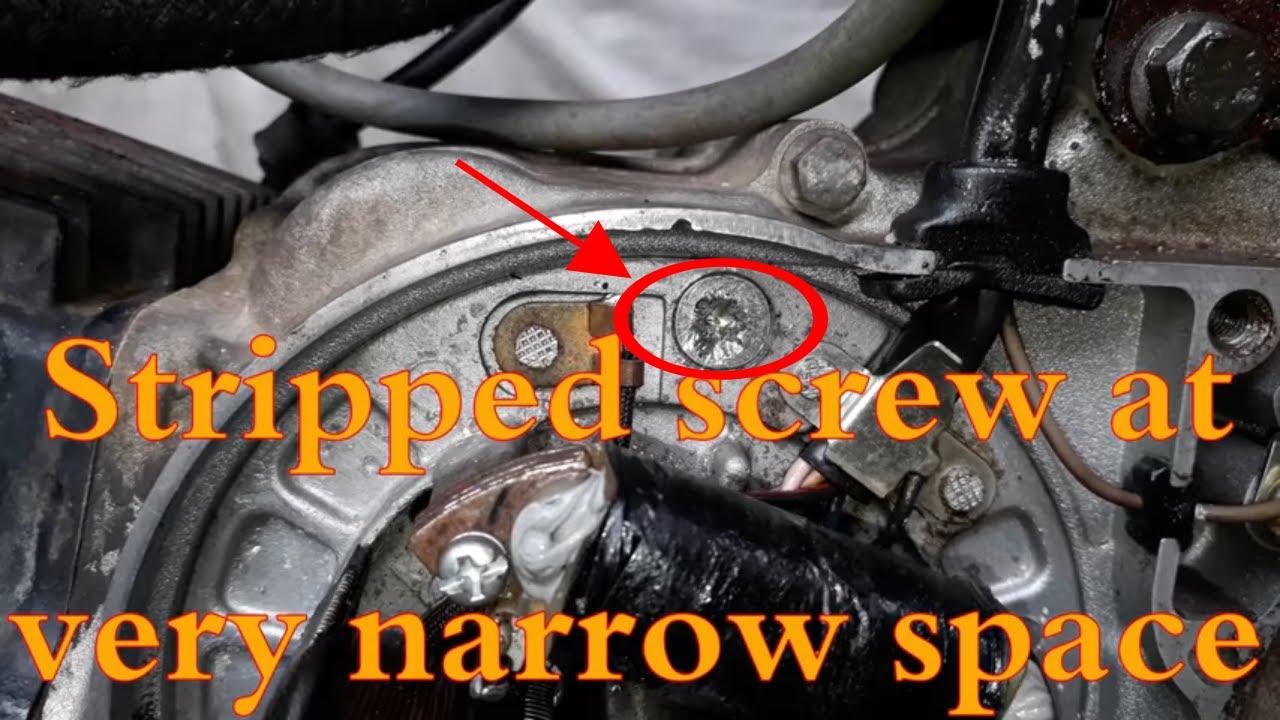
Dealing with a stripped screw can be incredibly frustrating. Whether you’re a seasoned DIY enthusiast or simply tackling a small household repair, encountering a screw that refuses to budge can bring your project to a screeching halt. A stripped screw, where the head’s grooves are damaged, prevents your screwdriver from gaining purchase, making removal seemingly impossible. But don’t despair! This comprehensive guide will walk you through various methods on how to get a stripped screw out, from simple tricks to more advanced techniques. We’ll cover the tools you’ll need, step-by-step instructions, and crucial tips to prevent future stripping incidents.
Understanding Stripped Screws
Before diving into the solutions, it’s essential to understand why screws get stripped in the first place. Over-tightening is a common culprit, as is using the wrong size or type of screwdriver. Applying excessive force or angling the screwdriver incorrectly can also damage the screw head. Recognizing these causes can help you avoid stripping screws in the future.
Common Causes of Stripped Screws
- Over-tightening: Applying too much force while tightening the screw.
- Incorrect Screwdriver Size: Using a screwdriver that’s too small or too large for the screw head.
- Incorrect Screwdriver Type: Using a Phillips head screwdriver on a flathead screw, or vice versa.
- Angling the Screwdriver: Not keeping the screwdriver perpendicular to the screw head.
- Cheap Screws: Using low-quality screws that are more prone to stripping.
Methods for Removing Stripped Screws
Now, let’s explore the various methods you can use to get a stripped screw out. We’ll start with the simplest techniques and progress to more specialized solutions.
Using a Rubber Band or Steel Wool
This is often the first trick people try, and it can be surprisingly effective for screws that are only slightly stripped. The idea is to provide extra grip between the screwdriver and the screw head.
- Place the Material: Place a wide rubber band (like the type used for produce) or a small piece of steel wool over the stripped screw head.
- Insert the Screwdriver: Insert your screwdriver into the screw head, pressing firmly onto the rubber band or steel wool.
- Apply Pressure and Turn: Apply steady downward pressure while slowly turning the screwdriver counterclockwise.
Using a Wider Screwdriver
Sometimes, simply using a slightly larger screwdriver can provide enough grip to remove the screw. This works best if the screw head isn’t completely rounded out.
- Select a Larger Screwdriver: Choose a screwdriver that’s slightly larger than the original one used.
- Insert the Screwdriver: Insert the larger screwdriver into the screw head, ensuring a snug fit.
- Apply Pressure and Turn: Apply firm downward pressure while turning the screwdriver counterclockwise.
Using Duct Tape
Similar to the rubber band trick, duct tape can provide extra grip. Fold a small piece of duct tape over on itself to create a thicker pad.
- Apply the Duct Tape: Place the folded duct tape over the stripped screw head.
- Insert the Screwdriver: Insert your screwdriver into the screw head, pressing firmly onto the duct tape.
- Apply Pressure and Turn: Apply steady downward pressure while slowly turning the screwdriver counterclockwise.
Using a Screw Extraction Pliers
Screw extraction pliers are designed to grip the head of a screw and turn it, even if the head is damaged. These are particularly useful when the screw head is protruding slightly.
- Grip the Screw Head: Position the pliers around the head of the screw.
- Tighten the Grip: Ensure the pliers have a firm grip on the screw head.
- Turn Counterclockwise: Turn the pliers counterclockwise to loosen and remove the screw.
Using a Screw Extractor Kit
A screw extractor kit is a more specialized tool designed specifically for removing stripped screws. These kits typically include a set of hardened steel bits that can grip the damaged screw head.
- Select the Correct Size: Choose a screw extractor bit that’s slightly smaller than the screw head.
- Create a Pilot Hole: Use a hammer to gently tap the extractor bit into the center of the screw head, creating a small pilot hole.
- Insert the Extractor: Insert the extractor bit into the pilot hole.
- Turn Counterclockwise: Apply downward pressure while turning the extractor bit counterclockwise. The extractor should bite into the screw head and eventually loosen it.
Using a Rotary Tool (Dremel)
A rotary tool, such as a Dremel, can be used to create a new slot in the screw head, allowing you to use a flathead screwdriver. This method requires a steady hand and caution.
- Attach a Cutting Wheel: Attach a small cutting wheel to your rotary tool.
- Cut a Slot: Carefully cut a slot across the screw head, creating a new groove for a flathead screwdriver.
- Insert a Flathead Screwdriver: Insert a flathead screwdriver into the new slot.
- Apply Pressure and Turn: Apply downward pressure while turning the screwdriver counterclockwise.
Applying Heat
Applying heat can sometimes help loosen a stubborn screw, especially if it’s corroded or seized. Use a soldering iron or heat gun to heat the screw head.
- Apply Heat: Heat the screw head for a few seconds.
- Try to Remove: Immediately try to remove the screw using one of the methods described above.
Using Penetrating Oil
Penetrating oil can help loosen a screw that’s stuck due to rust or corrosion. Apply a small amount of penetrating oil to the screw head and let it sit for a few minutes before attempting to remove the screw.
- Apply Penetrating Oil: Apply a small amount of penetrating oil to the screw head.
- Wait: Let the oil sit for at least 15 minutes.
- Try to Remove: Try to remove the screw using one of the methods described above.
Preventing Stripped Screws in the Future
Prevention is always better than cure. Here are some tips to help you avoid stripping screws in the future:
- Use the Right Screwdriver: Always use the correct size and type of screwdriver for the screw head.
- Apply Even Pressure: Apply firm, even pressure while turning the screwdriver.
- Keep the Screwdriver Perpendicular: Ensure the screwdriver is perpendicular to the screw head.
- Avoid Over-tightening: Don’t over-tighten screws. Stop when the screw is snug.
- Use High-Quality Screws: Invest in high-quality screws that are less prone to stripping.
- Pre-Drill Pilot Holes: When working with wood or other soft materials, pre-drill pilot holes to prevent the screw from binding.
Tools You Might Need
Here’s a list of tools you might need when dealing with stripped screws:
- Screwdrivers (various sizes and types)
- Rubber bands
- Steel wool
- Duct tape
- Screw extraction pliers
- Screw extractor kit
- Rotary tool (Dremel)
- Cutting wheels
- Soldering iron or heat gun
- Penetrating oil
- Hammer
When to Call a Professional
In some cases, despite your best efforts, you may not be able to get a stripped screw out. If you’ve tried multiple methods and are still struggling, or if you’re worried about damaging the surrounding material, it’s best to call a professional. A handyman or experienced contractor will have the tools and expertise to safely remove the screw without causing further damage. Knowing how to get a stripped screw out can be a lifesaver, but it’s equally important to recognize when a professional intervention is necessary.
Conclusion
Dealing with a stripped screw can be a frustrating experience, but with the right tools and techniques, it’s often a problem you can solve yourself. By understanding the causes of stripped screws and following the methods outlined in this guide, you can confidently tackle this common DIY challenge. Remember to always prioritize safety and take your time to avoid further damage. With a little patience and persistence, you’ll be able to get a stripped screw out and get back to your project in no time. Don’t let a stripped screw ruin your day; arm yourself with knowledge and the proper tools, and you’ll be well-equipped to handle this situation like a pro. And remember to always practice preventative measures to minimize the chances of encountering stripped screws in the future. Understanding how to get a stripped screw out is a valuable skill for any homeowner or DIY enthusiast. So, next time you face this challenge, you’ll be prepared to tackle it head-on. The ability to get a stripped screw out efficiently will save you time, money, and unnecessary frustration. Good luck!
[See also: How to Choose the Right Screwdriver] [See also: Common DIY Mistakes and How to Avoid Them]

