Cleaning a Motorcycle Carburetor: A Comprehensive Guide
The carburetor, often referred to as the carb, is a vital component of many motorcycles, especially older models. Its primary function is to mix air and fuel in the correct proportion to create a combustible mixture that powers the engine. Over time, however, carburetors can become clogged with dirt, varnish, and other deposits, leading to poor performance, starting problems, and reduced fuel efficiency. Cleaning a motorcycle carb is therefore a crucial maintenance task that can significantly improve your bike’s performance and longevity. This comprehensive guide will walk you through the process of cleaning a motorcycle carb, step-by-step, ensuring you can restore your bike to its optimal running condition.
Why Cleaning Your Motorcycle Carburetor is Important
Before diving into the how-to, it’s important to understand why cleaning a motorcycle carb is so critical. A dirty carburetor can manifest in various ways:
- Poor Starting: A clogged carb can make it difficult to start your motorcycle, especially in cold weather.
- Rough Idling: The engine may idle erratically or stall frequently.
- Reduced Fuel Efficiency: A dirty carb can disrupt the air-fuel mixture, leading to increased fuel consumption.
- Hesitation or Stumbling: The engine may hesitate or stumble during acceleration.
- Overall Performance Issues: A dirty carb can negatively impact the overall performance and responsiveness of your motorcycle.
Regular cleaning a motorcycle carb can prevent these issues and ensure your bike runs smoothly and efficiently. By addressing these problems early, you can avoid more costly repairs down the line. It’s a proactive maintenance step that any motorcycle owner can undertake.
Tools and Materials Needed for Cleaning a Motorcycle Carb
Before you begin, gather the necessary tools and materials. Having everything on hand will make the process smoother and more efficient. Here’s a list of essentials:
- Carburetor Cleaner: A dedicated carburetor cleaner is essential for dissolving varnish and deposits.
- Screwdrivers: Both flathead and Phillips head screwdrivers of various sizes will be needed.
- Wrenches: A set of wrenches, including socket wrenches, is necessary for removing the carb.
- Pliers: Pliers can be helpful for disconnecting fuel lines and other components.
- Compressed Air: Compressed air is vital for blowing out passages and jets.
- Soft Brush: A soft brush, like an old toothbrush, can be used to scrub away stubborn deposits.
- Small Wire or Carburetor Jet Cleaning Tool: These are used to clear out small jets and passages. Be careful not to damage them.
- Clean Rags: Clean rags are essential for wiping down parts and absorbing spills.
- Safety Glasses: Protect your eyes from carburetor cleaner and debris.
- Gloves: Wear gloves to protect your hands from chemicals and dirt.
- Parts Tray: A parts tray will help you keep track of small components.
- Service Manual: A service manual for your specific motorcycle model is invaluable for understanding the carburetor’s layout and specifications.
Step-by-Step Guide to Cleaning a Motorcycle Carburetor
Now, let’s move on to the actual cleaning a motorcycle carb process. Follow these steps carefully:
Step 1: Remove the Carburetor
First, you need to remove the carburetor from your motorcycle. This process can vary depending on your bike’s make and model, so consult your service manual for specific instructions. Generally, the steps involve:
- Turn off the fuel supply.
- Disconnect the fuel line from the carburetor.
- Disconnect any throttle cables or choke cables.
- Loosen the clamps that secure the carburetor to the intake manifold and airbox.
- Carefully remove the carburetor from the motorcycle.
Take photos as you disassemble to help with reassembly later. Label any disconnected hoses or wires to avoid confusion.
Step 2: Disassemble the Carburetor
Once the carburetor is removed, you need to disassemble it. Again, refer to your service manual for detailed instructions. Common steps include:
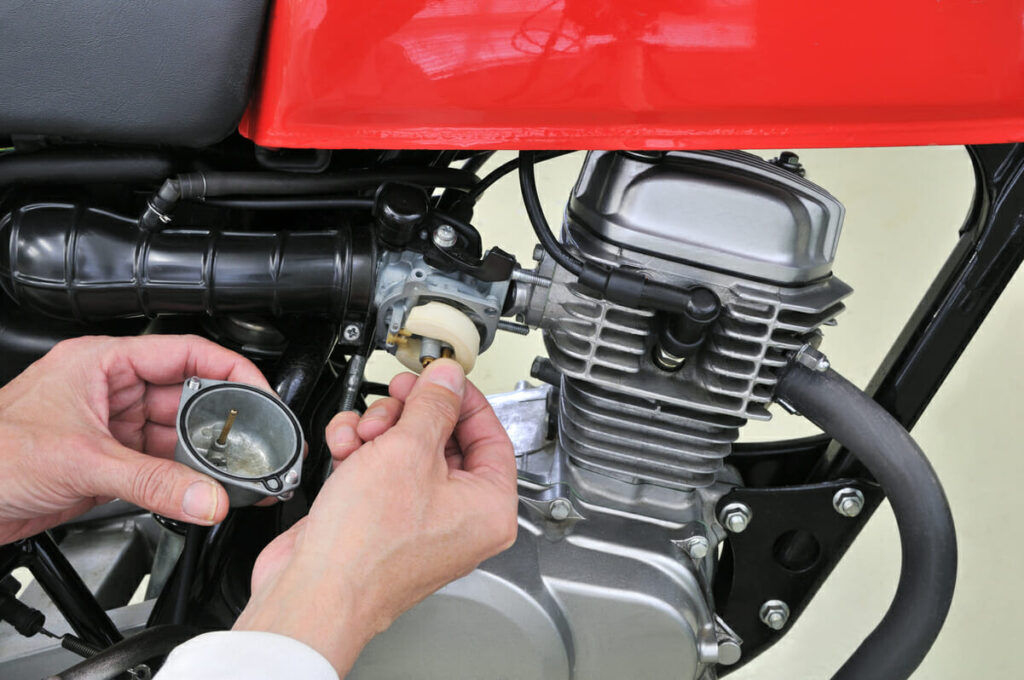
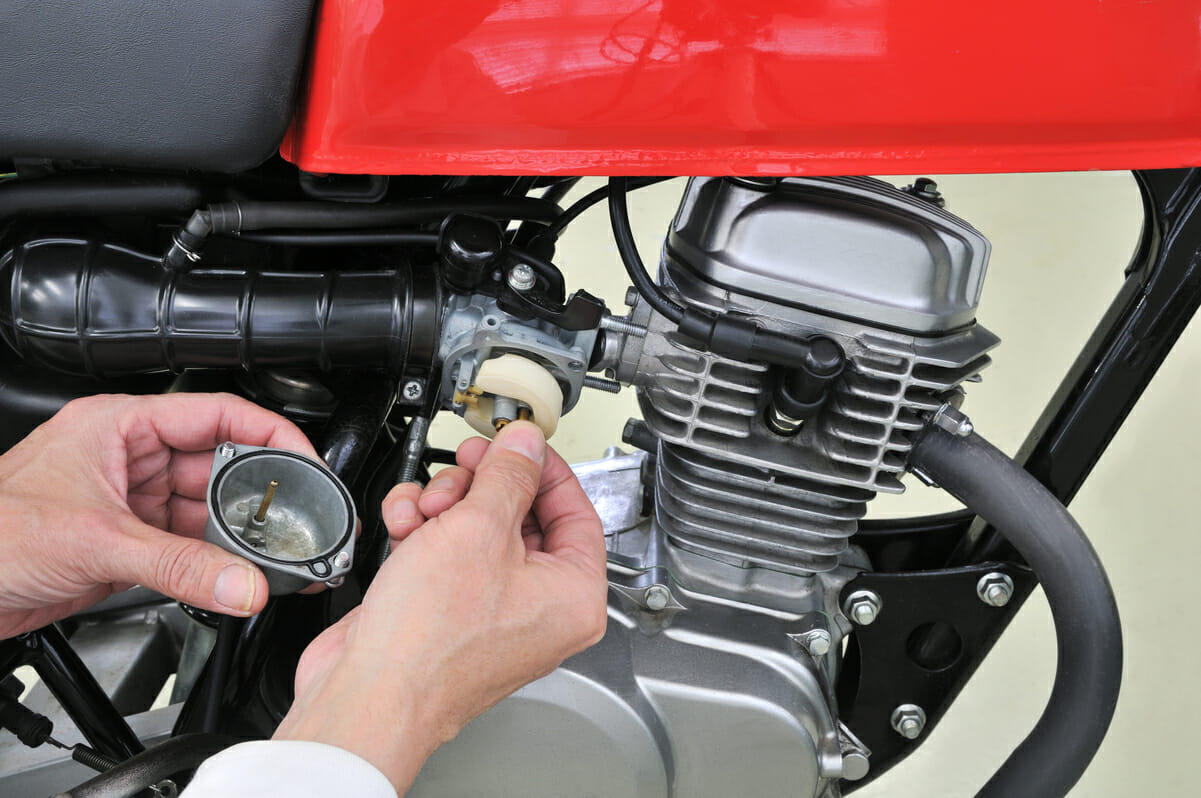
- Remove the float bowl. This is usually held in place by screws.
- Remove the float and float valve.
- Remove the main jet and pilot jet.
- Remove the needle valve.
- Remove any other removable components, such as the idle mixture screw.
Place all the small parts in your parts tray to avoid losing them. Be gentle when removing components, as some parts may be fragile.
Step 3: Clean the Carburetor Components
Now comes the actual cleaning a motorcycle carb part. Use carburetor cleaner to thoroughly clean all the components you removed. Follow these steps:
- Spray carburetor cleaner on all the parts, including the jets, float bowl, and carburetor body.
- Use a soft brush to scrub away any stubborn deposits.
- Use a small wire or carburetor jet cleaning tool to clear out the jets and passages. Be careful not to enlarge or damage the jets.
- Rinse all the parts with carburetor cleaner.
- Use compressed air to blow out all the passages and jets. This is crucial for ensuring they are completely clear.
Ensure that all passages are free of obstructions. Hold the parts up to the light to check for blockages.
Step 4: Reassemble the Carburetor
After cleaning, reassemble the carburetor in the reverse order of disassembly. Refer to your service manual and the photos you took earlier. Ensure all components are properly seated and tightened.
Step 5: Reinstall the Carburetor
Reinstall the carburetor onto your motorcycle. Again, consult your service manual for specific instructions. Ensure all fuel lines, throttle cables, and choke cables are properly connected.
Step 6: Adjust the Carburetor
After reinstalling the carburetor, you may need to adjust it to ensure proper performance. This can involve adjusting the idle speed, idle mixture, and possibly the main jet. Refer to your service manual for the correct settings and adjustment procedures.
Tips for Effective Carburetor Cleaning
Here are some additional tips to help you effectively cleaning a motorcycle carb:
- Work in a Well-Ventilated Area: Carburetor cleaner can be harmful, so work in a well-ventilated area.
- Take Your Time: Don’t rush the process. Take your time to ensure you clean all the components thoroughly.
- Use a Service Manual: A service manual is invaluable for understanding your specific carburetor.
- Keep Track of Parts: Use a parts tray to keep track of small components.
- Be Gentle: Be gentle when removing and reinstalling components, as some parts may be fragile.
- Replace Worn Parts: If you notice any worn or damaged parts, replace them.
When to Seek Professional Help
While cleaning a motorcycle carb is a task that many motorcycle owners can undertake, there are times when it’s best to seek professional help. If you’re not comfortable working on your motorcycle, or if you’ve tried cleaning the carburetor and are still experiencing problems, it’s best to take your bike to a qualified mechanic. They have the expertise and tools to diagnose and repair any carburetor issues.
Preventative Maintenance to Reduce Carburetor Cleaning Frequency
To reduce the frequency of cleaning a motorcycle carb, consider these preventative maintenance steps:
- Use Fresh Fuel: Old fuel can leave deposits in the carburetor.
- Add Fuel Stabilizer: If you’re storing your motorcycle for an extended period, add fuel stabilizer to the tank.
- Regularly Inspect Fuel Lines: Check fuel lines for cracks or leaks.
- Keep Air Filter Clean: A clean air filter prevents dirt and debris from entering the carburetor.
By following these tips, you can keep your carburetor clean and your motorcycle running smoothly for years to come. Regular maintenance, including cleaning a motorcycle carb, is key to ensuring the longevity and performance of your bike.
In conclusion, cleaning a motorcycle carb is a critical maintenance task that can significantly improve your motorcycle’s performance and fuel efficiency. By following the steps outlined in this guide, you can confidently tackle this task and keep your bike running smoothly. Remember to always consult your service manual and take your time to ensure the job is done correctly. Happy riding! [See also: Motorcycle Maintenance Checklist] [See also: How to Change Motorcycle Oil]

