How to Fix a Doorbell Chime: A Comprehensive Guide
A malfunctioning doorbell chime can be more than just an annoyance; it can disrupt your daily routine and even compromise your home’s security. Imagine missing an important delivery or a crucial visitor simply because your doorbell isn’t working correctly. Fixing a doorbell chime might seem daunting, but with a systematic approach and a few basic tools, most issues can be resolved quickly and efficiently. This guide provides a comprehensive, step-by-step approach to diagnosing and fixing common doorbell chime problems, ensuring you never miss another ring.
Understanding Your Doorbell System
Before diving into repairs, it’s essential to understand the components of a typical doorbell system. A standard wired doorbell system consists of three primary parts: the doorbell button, the chime (or bell), and the transformer. The doorbell button, when pressed, completes a low-voltage circuit powered by the transformer. This sends electricity to the chime unit, which then produces the familiar ringing sound. Wireless doorbells operate differently, using radio frequencies to transmit signals between the button and the chime receiver. Understanding the type of doorbell you have is the first step in effectively troubleshooting any issues. A faulty doorbell chime can stem from problems in any of these components, so knowing how they interact is crucial.
Troubleshooting Common Doorbell Chime Problems
No Sound at All
If your doorbell chime isn’t producing any sound, the problem could lie in several areas. Here’s a systematic way to diagnose the issue:
- Check the Power Supply: The transformer is the heart of the doorbell system. Locate the transformer, usually found near the electrical panel, in the attic, or basement. Use a multimeter to test the voltage output. A typical doorbell transformer should output between 16 and 24 volts. If the voltage is significantly lower or zero, the transformer may be faulty and need replacement.
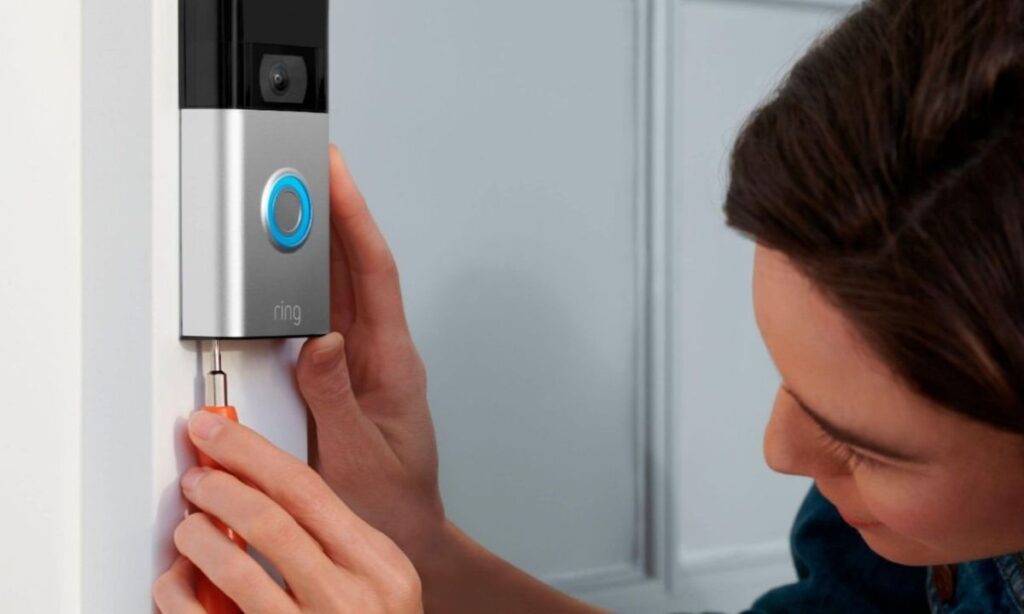
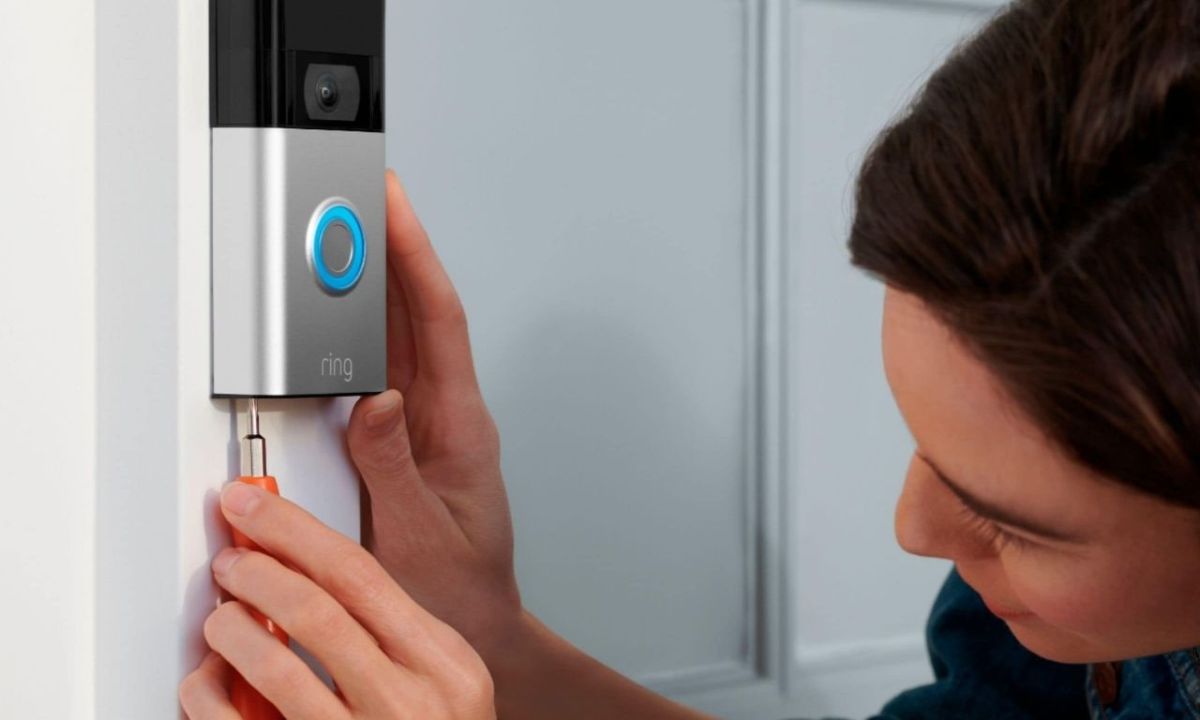
- Inspect the Doorbell Button: The button itself can become corroded or damaged over time. Use a screwdriver to remove the button from the wall and inspect the wiring. Clean any corrosion with a wire brush or sandpaper. Use a multimeter to check for continuity when the button is pressed. If there’s no continuity, the button is likely the culprit and needs to be replaced.
- Examine the Wiring: Loose or damaged wiring can prevent the circuit from completing. Check all wire connections at the doorbell button, chime unit, and transformer. Ensure the wires are securely fastened and free from corrosion. Replace any damaged or frayed wires.
- Test the Chime Unit: If the power supply and button are functioning correctly, the chime unit itself may be defective. Disconnect the wires from the chime unit and use a multimeter to test for continuity when the wires are touched together. If there’s no continuity or an erratic reading, the chime unit needs to be replaced.
Weak or Distorted Sound
A weak or distorted doorbell chime often indicates a problem with the voltage supply or the chime unit itself.
- Verify Voltage Output: As with a completely silent doorbell, check the transformer’s voltage output. A slightly lower-than-normal voltage can result in a weak or distorted sound. If the voltage is below the recommended range, consider replacing the transformer.
- Clean the Chime Mechanism: Over time, dust and debris can accumulate in the chime mechanism, affecting its performance. Use a soft brush or compressed air to clean the moving parts of the chime unit.
- Check the Plunger: The plunger is the part of the chime unit that strikes the tone bars to produce the sound. Ensure the plunger moves freely and is not obstructed by any debris. Lubricate the plunger with a small amount of silicone-based lubricant if necessary.
- Replace the Chime Unit: If cleaning and lubrication don’t resolve the issue, the chime unit may be worn out and need replacement.
Continuous Ringing
A doorbell that rings continuously is usually caused by a stuck doorbell button or a short circuit in the wiring.
- Inspect the Doorbell Button: The most common cause of continuous ringing is a stuck doorbell button. Remove the button and ensure it moves freely. Clean any debris or corrosion that may be preventing it from releasing.
- Check for Short Circuits: Inspect the wiring for any signs of damage or exposed wires that could be causing a short circuit. Pay close attention to areas where the wires may be pinched or rubbing against metal surfaces. Repair or replace any damaged wiring.
- Examine the Chime Unit: In rare cases, a faulty chime unit can cause continuous ringing. Disconnect the wires from the chime unit to see if the ringing stops. If it does, the chime unit is likely the problem and needs to be replaced.
Step-by-Step Repair Guide
Replacing a Doorbell Transformer
Replacing a doorbell transformer is a straightforward process, but it’s crucial to follow safety precautions.
- Turn Off the Power: Before starting any electrical work, turn off the power to the doorbell circuit at the main electrical panel.
- Locate the Transformer: Find the existing transformer, usually located near the electrical panel, in the attic, or basement.
- Disconnect the Wires: Carefully disconnect the wires from the transformer, noting their positions for easy reconnection.
- Remove the Old Transformer: Unscrew the old transformer from its mounting bracket.
- Install the New Transformer: Mount the new transformer in the same location and connect the wires, ensuring they are securely fastened.
- Turn On the Power: Turn on the power to the doorbell circuit at the main electrical panel and test the doorbell.
Replacing a Doorbell Button
Replacing a doorbell button is a simple task that can often resolve many doorbell chime problems.
- Turn Off the Power: Turn off the power to the doorbell circuit at the main electrical panel.
- Remove the Old Button: Unscrew the old doorbell button from the wall.
- Disconnect the Wires: Disconnect the wires from the old button.
- Connect the Wires to the New Button: Connect the wires to the new doorbell button, ensuring they are securely fastened.
- Install the New Button: Screw the new button into the wall.
- Turn On the Power: Turn on the power to the doorbell circuit at the main electrical panel and test the doorbell.
Replacing a Doorbell Chime Unit
Replacing a doorbell chime unit is slightly more involved but still manageable with basic tools.
- Turn Off the Power: Turn off the power to the doorbell circuit at the main electrical panel.
- Remove the Old Chime Unit: Remove the cover from the old chime unit and disconnect the wires, noting their positions.
- Disconnect the Wires: Disconnect the wires from the old chime unit.
- Install the New Chime Unit: Mount the new chime unit in the same location and connect the wires, ensuring they are securely fastened.
- Replace the Cover: Replace the cover on the new chime unit.
- Turn On the Power: Turn on the power to the doorbell circuit at the main electrical panel and test the doorbell.
Safety Precautions
Working with electrical components can be dangerous. Always follow these safety precautions:
- Turn off the power to the doorbell circuit at the main electrical panel before starting any work.
- Use insulated tools to prevent electrical shock.
- Wear safety glasses to protect your eyes from debris.
- If you’re not comfortable working with electricity, consult a qualified electrician.
When to Call a Professional
While many doorbell chime problems can be resolved with DIY repairs, some situations require the expertise of a qualified electrician. Call a professional if:
- You’re not comfortable working with electricity.
- You suspect a major electrical problem.
- You’ve tried troubleshooting the problem and are still unable to resolve it.
Maintaining Your Doorbell System
Regular maintenance can help prevent doorbell chime problems and extend the life of your system.
- Clean the doorbell button regularly to remove dirt and debris.
- Inspect the wiring for signs of damage or corrosion.
- Test the doorbell periodically to ensure it’s functioning correctly.
Wireless Doorbell Considerations
Wireless doorbells offer convenience and ease of installation, but they also have their own set of potential issues. Common problems include battery failure, signal interference, and range limitations. Regularly replace the batteries in both the button and the receiver. Ensure the receiver is positioned within the recommended range of the button. If you experience interference, try changing the channel or relocating the receiver. While this guide focuses on fixing a doorbell chime in wired systems, many of the principles apply to wireless systems as well. [See also: Wireless Doorbell Troubleshooting Guide]
Advanced Troubleshooting Techniques
For more complex issues, consider these advanced troubleshooting techniques:
- Using a Multimeter: A multimeter is an invaluable tool for diagnosing electrical problems. Use it to test voltage, continuity, and resistance in various parts of the doorbell system.
- Checking for Ground Faults: A ground fault can cause a variety of problems, including intermittent ringing or a completely non-functional doorbell. Use a ground fault tester to check for ground faults in the wiring.
- Consulting Wiring Diagrams: Wiring diagrams can provide valuable insights into the configuration of your doorbell system. Consult the manufacturer’s website or a repair manual for wiring diagrams.
Conclusion
Fixing a doorbell chime doesn’t have to be a daunting task. By understanding the components of your doorbell system, following a systematic troubleshooting approach, and taking the necessary safety precautions, you can resolve most common issues yourself. Whether it’s a simple button replacement or a more complex transformer repair, this guide provides the information you need to get your doorbell chime working again. Remember to prioritize safety and consult a professional electrician if you’re not comfortable working with electricity. With a little effort, you can ensure that you never miss another important visitor or delivery because of a faulty doorbell chime. By following these steps on how to fix a doorbell chime, you’ll be well-equipped to tackle any doorbell-related issues that arise. Don’t forget to regularly maintain your system to prevent future problems and keep your doorbell in top working condition. A properly functioning doorbell chime is an essential part of home security and convenience, so take the time to ensure it’s working correctly. The next time your doorbell chime fails, remember this guide and confidently address the issue. With the right tools and knowledge, fixing a doorbell chime can be a rewarding and cost-effective DIY project.

